16 Expert Tips for Flawless Slick Back Hairstyles
Forget fleeting trends; the slick back hairstyle is a masterclass in enduring sophistication. This powerful look, characterized by its sleek, pulled-back finish, exudes confidence and control, making it a perennial favorite on red carpets, runways, and in boardrooms alike. It’s a statement of intent—unfussy, yet undeniably chic, framing the face and highlighting your features without distraction. Whether you're aiming for a high-gloss 'wet look' or a softer, more subtle hold, the slick back is a versatile weapon in any style arsenal.
More than just a single style, the slick back is a technique that can be adapted to virtually any hair length, type, or occasion. From a sharp, androgynous look on a pixie cut to an elegant, sweeping ponytail on long locks, its variations are endless. The key to mastering it lies not in forcing your hair into submission, but in understanding the right products, tools, and application methods. This guide will walk you through 16 essential tips to help you achieve a flawless, long-lasting slick back hairstyle every time, transforming your look from everyday to extraordinary.
1. Choose the Right Styling Product
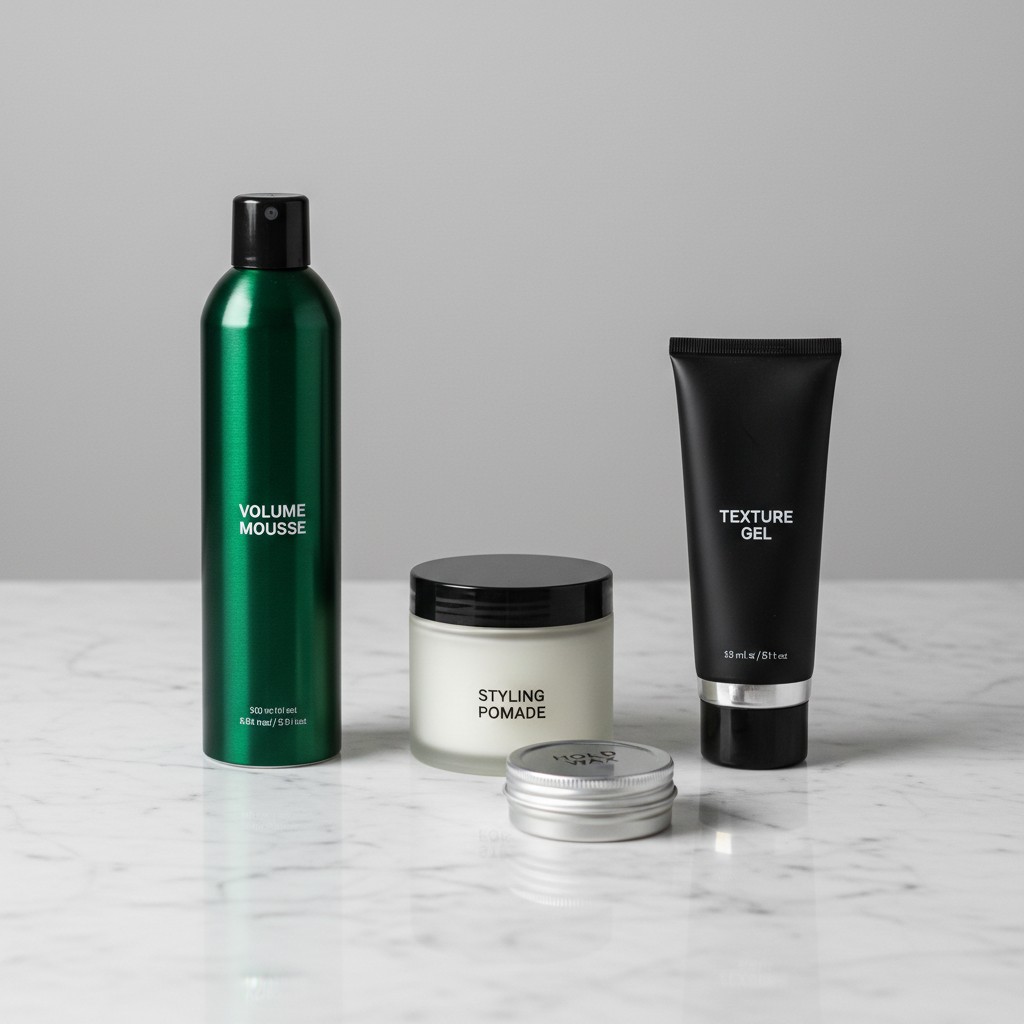
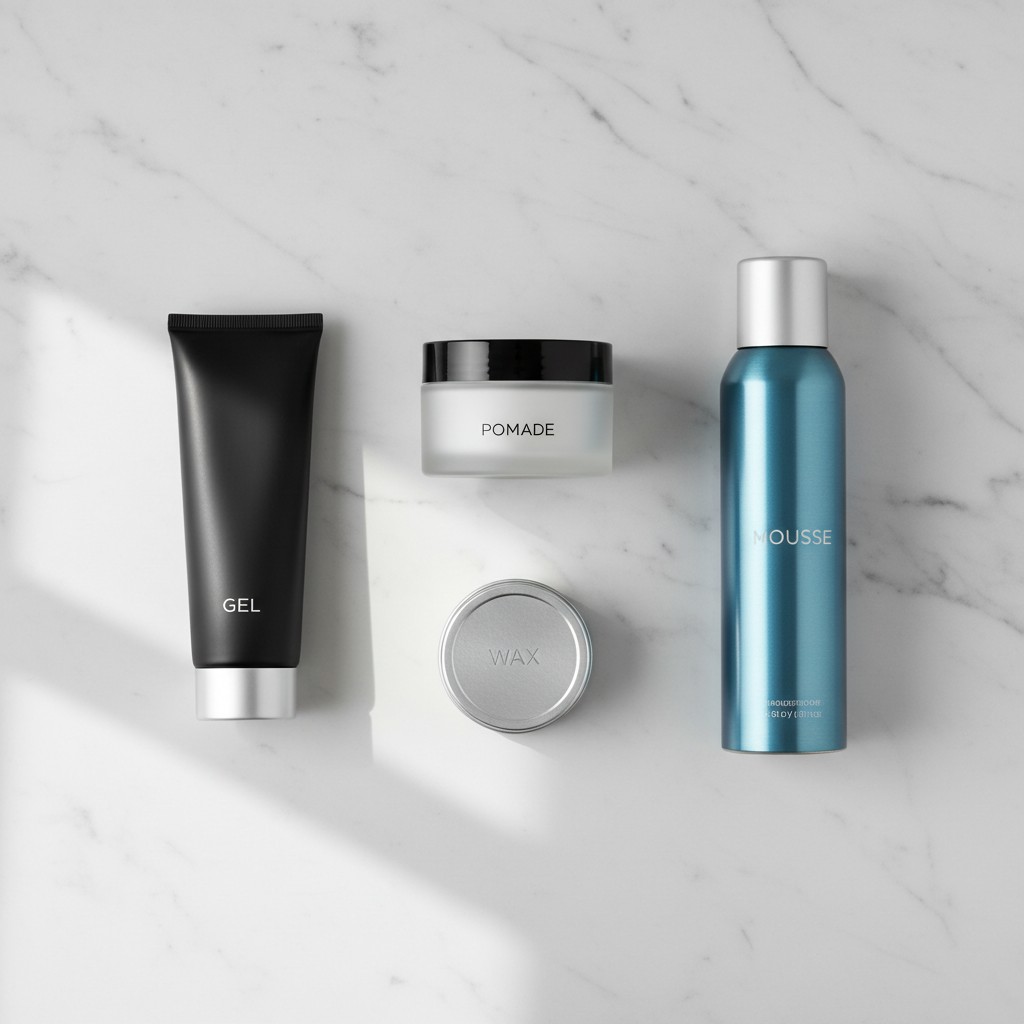
The success of your slick back hairstyle hinges almost entirely on the product you choose. This isn't a one-size-fits-all situation; your hair type and the desired finish—be it wet look, matte, or satin—will dictate your ideal formula. For a classic, high-shine 'wet look,' a strong-hold gel is your best friend. It provides maximum control and that coveted glossy finish. Look for alcohol-free gels to prevent drying out your hair.
If you prefer a more flexible hold with a natural or semi-matte finish, a water-based pomade is an excellent choice. Pomades are fantastic for controlling frizz and flyaways without the crunchy texture that some gels can leave behind. For those with fine hair, a styling mousse or a light-hold wax can provide the necessary grip and shape without weighing the hair down, offering volume at the root while still keeping things sleek.
Experimentation is key. Don't be afraid to cocktail products to get a custom finish. For instance, you could use a mousse at the roots for a bit of lift and then apply a gel from the mid-lengths to the ends for that sleek, controlled appearance. Always start with a small, dime-sized amount of product and build up as needed; it's far easier to add more than it is to remove excess.
2. Start with Damp, Not Soaking Wet, Hair
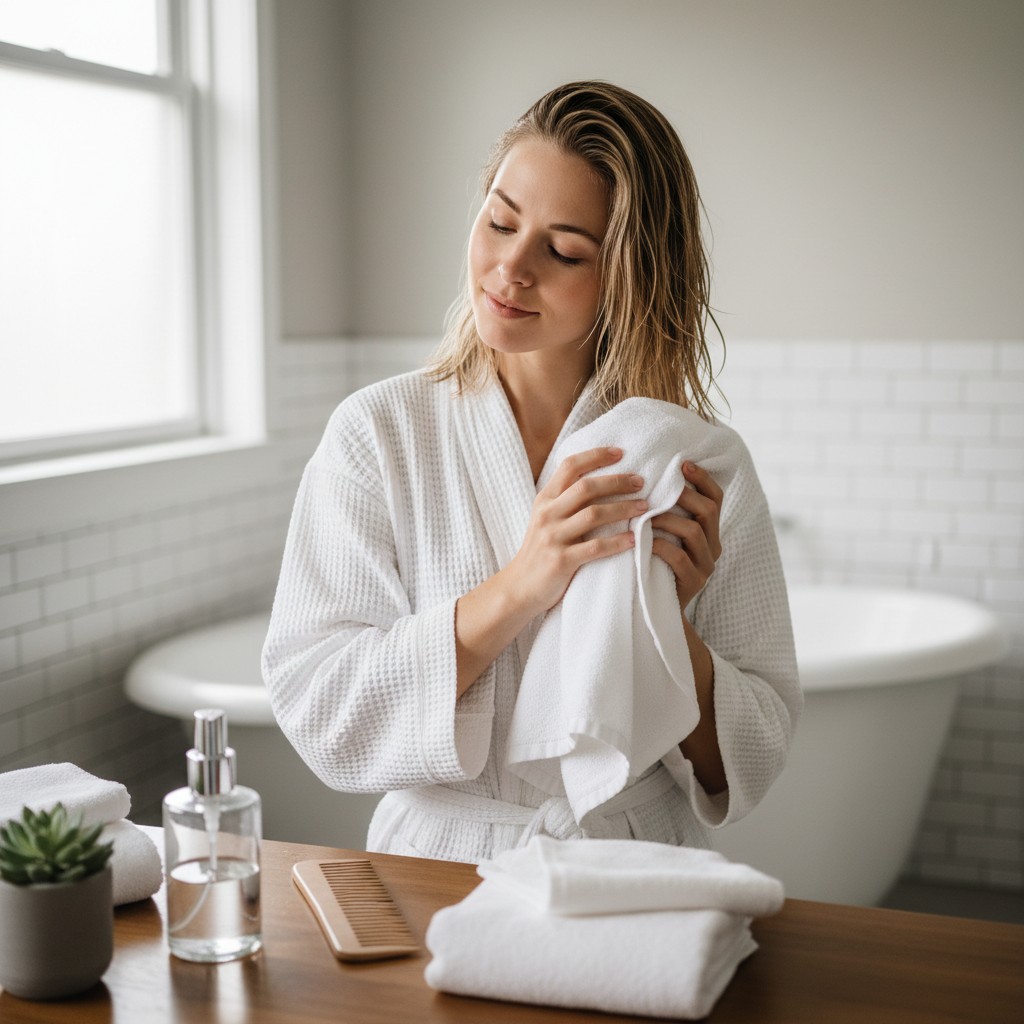
One of the most common mistakes when attempting a slick back style is applying a product to either bone-dry or sopping wet hair. The sweet spot is damp, towel-dried hair. When your hair is damp, the cuticle is slightly open, which allows the styling product to penetrate and distribute more evenly. This ensures that every strand is coated, providing a consistent hold and finish from root to tip.
Applying gel or pomade to soaking wet hair dilutes the product, weakening its hold and often resulting in a patchy, uneven finish once it dries. Conversely, applying it to completely dry hair can make it difficult to spread the product, leading to clumps, stiffness, and a less polished look. It also makes the hair harder to manipulate and comb into the desired shape.
For best results, wash and condition your hair, then gently squeeze out excess water with a towel. You want it to be about 70-80% dry. If you're starting with dry hair, you don't need to re-wash it; simply use a spray bottle to lightly mist your hair with water until it's uniformly damp before you begin applying your product.
3. The Classic Wet Look Finish
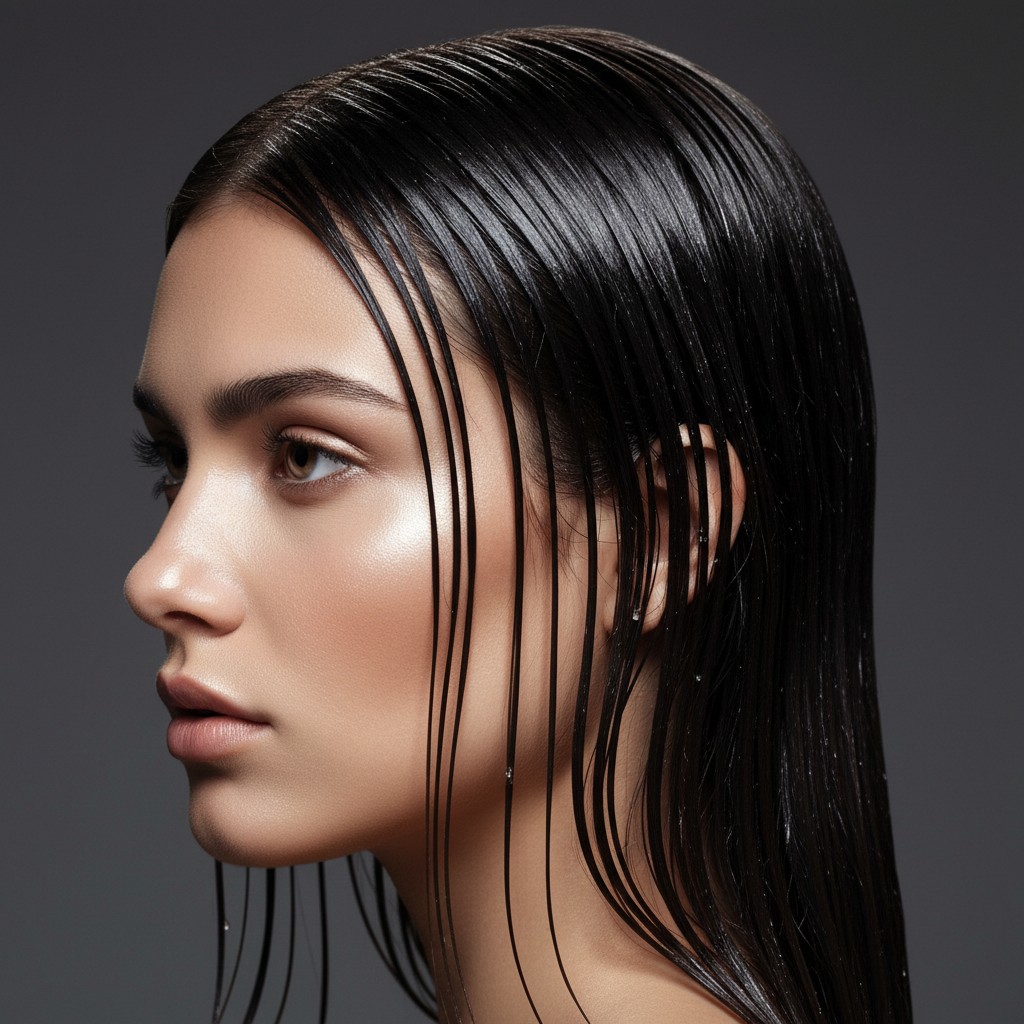
The 'wet look' is the most dramatic and high-fashion iteration of the slick back. It’s a bold statement that speaks of confidence and sophistication. The secret to achieving this look without appearing greasy is to use a high-shine, strong-hold gel and apply it strategically. Focus the product primarily on the roots and the top layer of your hair that will be visible.
Start with damp hair and work a generous amount of gel through the roots and first few inches of your hair using your fingers. Then, take a fine-tooth comb and begin combing your hair straight back from your forehead. The comb helps to create clean lines and distribute the product evenly for that ultra-sleek, reflective surface. For an even more intense wet look, you can mix a small amount of shine serum or hair oil with your gel before application.
To prevent the ends from looking dry or disconnected from the style, lightly run your gel-coated hands through the mid-lengths and ends, but avoid saturating them. The focus of the 'wetness' should be at the top and front. Finish with a generous misting of a high-shine hairspray to lock everything in place and enhance the glossy effect.
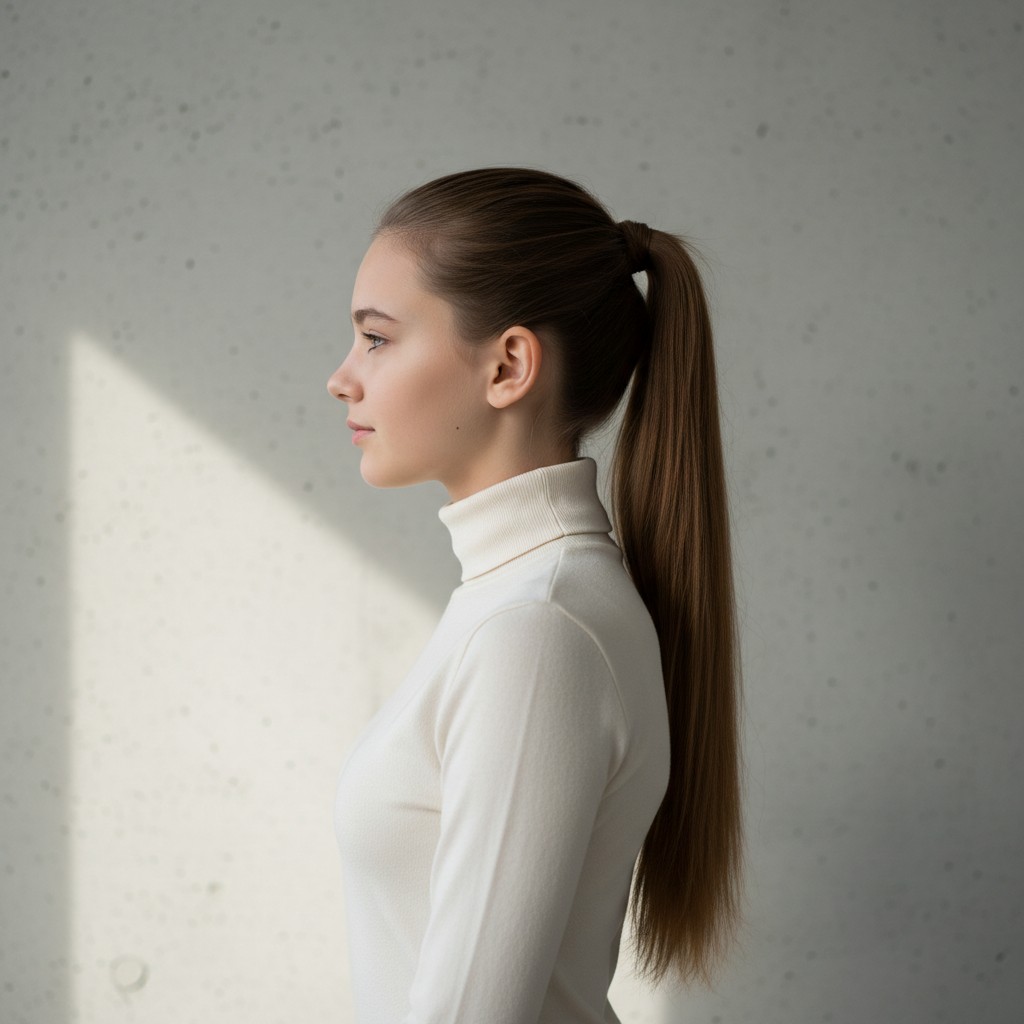
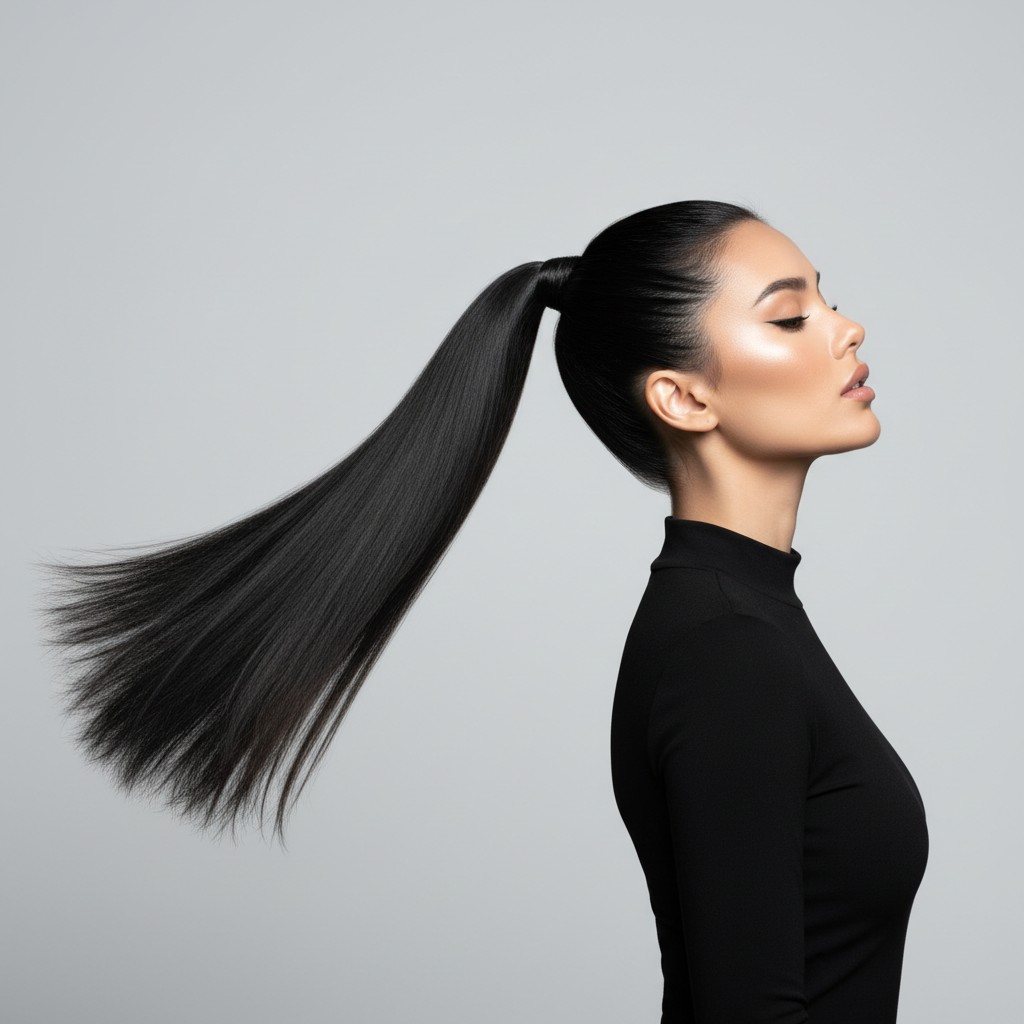
4. The Polished Slick Back Ponytail
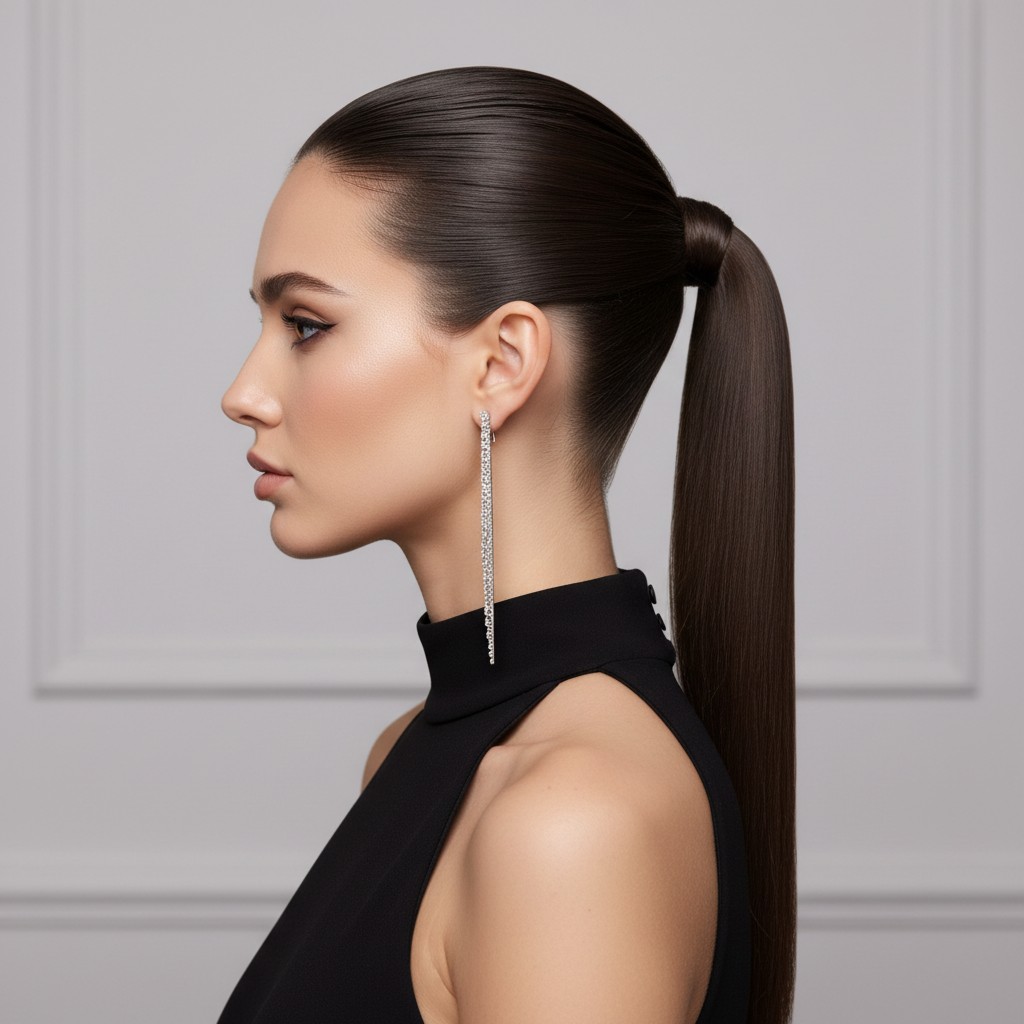
Combining the sleekness of a slick back with the practicality of a ponytail creates a look that is both powerful and polished. This style is perfect for keeping hair off your face while maintaining a sophisticated silhouette. To begin, decide on the placement of your ponytail—high on the crown for a dramatic, youthful look, or low at the nape of the neck for a more understated, elegant vibe.
Apply your chosen styling product (pomade works wonderfully here for a satin finish) to the roots of your damp hair. Using a boar bristle brush, begin brushing your hair back towards the desired ponytail location. The boar bristles are excellent for smoothing down every single flyaway and creating a seamless, uniform surface. This brush is the key to that 'glass hair' effect on the scalp.
Once your hair is smooth, gather it into an elastic. For an extra polished touch, take a small strand of hair from the underside of the ponytail, wrap it around the base to conceal the elastic, and secure it with a bobby pin. This simple step elevates the entire look. For more inspiration on different looks, check out these stunning ponytail styles.
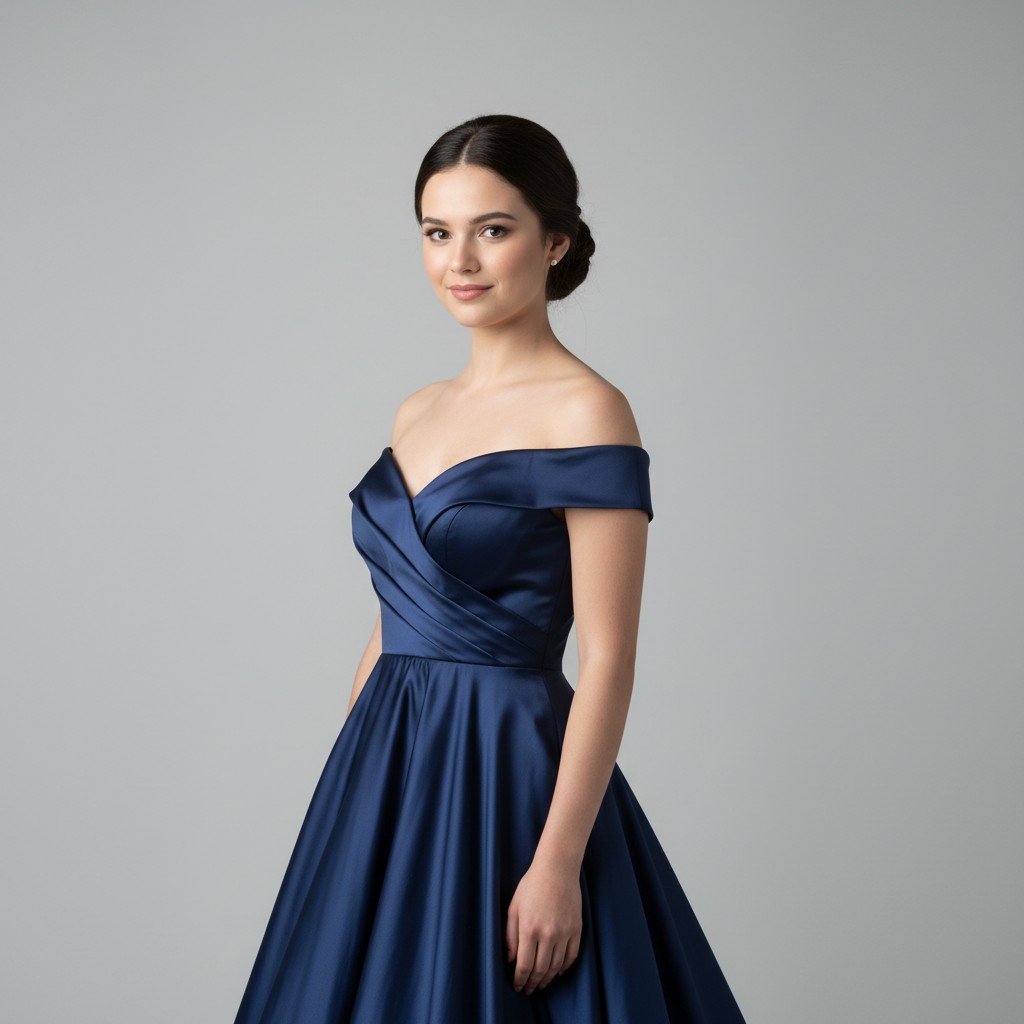
5. The Elegant Low Slick Back Bun
For a look of pure, unadulterated elegance, the low slick back bun is unmatched. It’s a go-to for black-tie events, weddings, and any occasion that calls for refined sophistication. The beauty of this style lies in its clean lines and minimalist appeal, which puts all the focus on your face and neckline. It's a popular choice for everything from bridal looks to stunning prom updos.
Start by creating a sharp center or side part on damp hair. Apply a medium-hold gel or pomade from roots to ends, ensuring the hair is fully saturated for maximum sleekness. Use a fine-tooth comb to direct the hair down and back towards the nape of your neck, eliminating any bumps or waves. Gather the hair into a low, tight ponytail and secure it.
Twist the ponytail tightly until it begins to coil around itself, then wrap it into a neat, compact bun. Secure the bun with bobby pins that match your hair color, tucking them underneath so they are hidden from view. For an impeccable finish, run a small amount of pomade over the surface of the bun and mist your entire head with a strong-hold hairspray to tame any final flyaways.
6. Slicking Back Short Hair (Pixies & Bobs)
Slick back styles aren't just for long hair; they can look incredibly chic and edgy on short cuts like pixies and bobs. With short hair, the focus is on texture and direction. A slick back can instantly transform a soft, everyday bob into a sharp, high-fashion statement. The key is to use a product that provides hold without making the hair look flat or stuck to your head.
For a pixie cut, work a small amount of wax or firm-hold pomade through your damp hair. Use your fingers to push the hair back and away from your face. For a more defined look, use a comb to create a clean side part before slicking the sides down and back. The goal is to create a sleek silhouette while allowing for a little bit of texture and movement on top.
With a bob, you have more length to play with. You can slick the entire head back for a bold, androgynous feel, or just slick back the top and sides, leaving the back with its natural volume. A fine-tooth comb is your best friend here for creating those sharp, clean lines. Don't be afraid to use bobby pins discreetly above the ears to help keep shorter layers in place.
7. Taming Long, Thick Hair
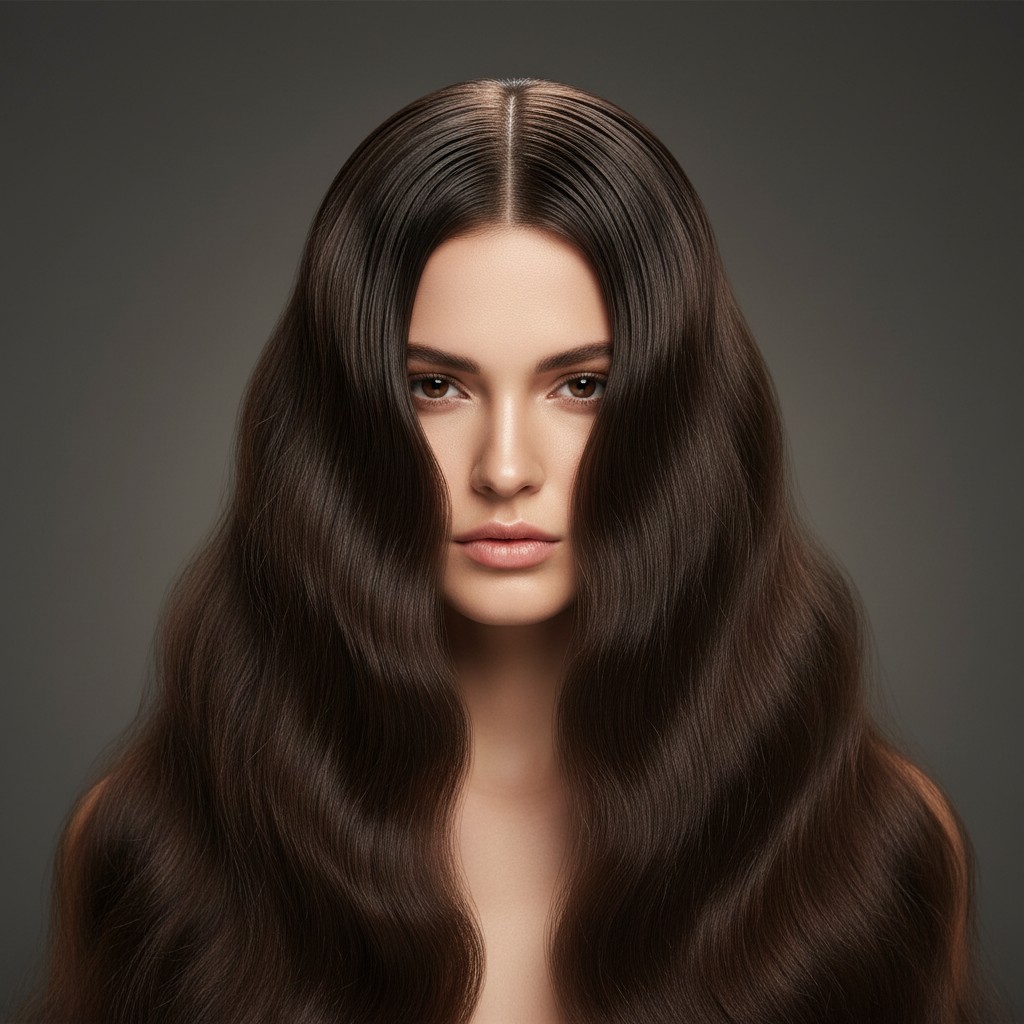
Slicking back long, thick hair can feel like a battle against gravity and volume, but it's entirely achievable with the right strategy. The primary challenge is ensuring the hair stays sleek and flat at the roots without popping up. The secret weapon for this is sectioning. Trying to style all your hair at once will result in an uneven application and poor hold.
Start with damp hair and divide it into three or four horizontal sections. Begin with the bottom section and apply a strong-hold gel or pomade liberally at the roots. Comb it back smoothly before letting down the next section and repeating the process. This ensures that the under-layers are just as controlled as the top layer, providing a solid foundation for the style.
Once all sections are coated and combed back, use a boar bristle brush to go over the entire surface, melding the sections together and creating a unified, sleek finish. For extra security, especially if you're not tying your hair back, you can use hidden bobby pins or small clips placed vertically behind the ears to anchor the hair in place. A final, generous application of extra-strong hold hairspray is non-negotiable for keeping heavy hair in check all day.
8. The Modern Side Part
While the classic slick back goes straight back from the forehead, introducing a sharp side part can completely change the dynamic of the look. A deep side part adds a touch of asymmetry and drama, creating a more modern and slightly edgy vibe. This variation is particularly flattering as it can help to soften facial features and add visual interest.
To create the perfect part, use the tail end of a rat-tail comb on damp hair. The sharpest, most effective line starts from the arch of your eyebrow and goes straight back. Once your part is established, apply your styling gel or pomade to each side separately. Comb the smaller section down and back, tucking it tightly behind your ear.
For the larger section, comb it across your forehead slightly before sweeping it back. This creates a subtle, flattering wave at the front before it merges with the rest of the slicked-back hair. This style works beautifully whether you're wearing your hair down, in a low ponytail, or in a bun. It’s a small detail that makes a big impact.
9. The Symmetrical Center Part
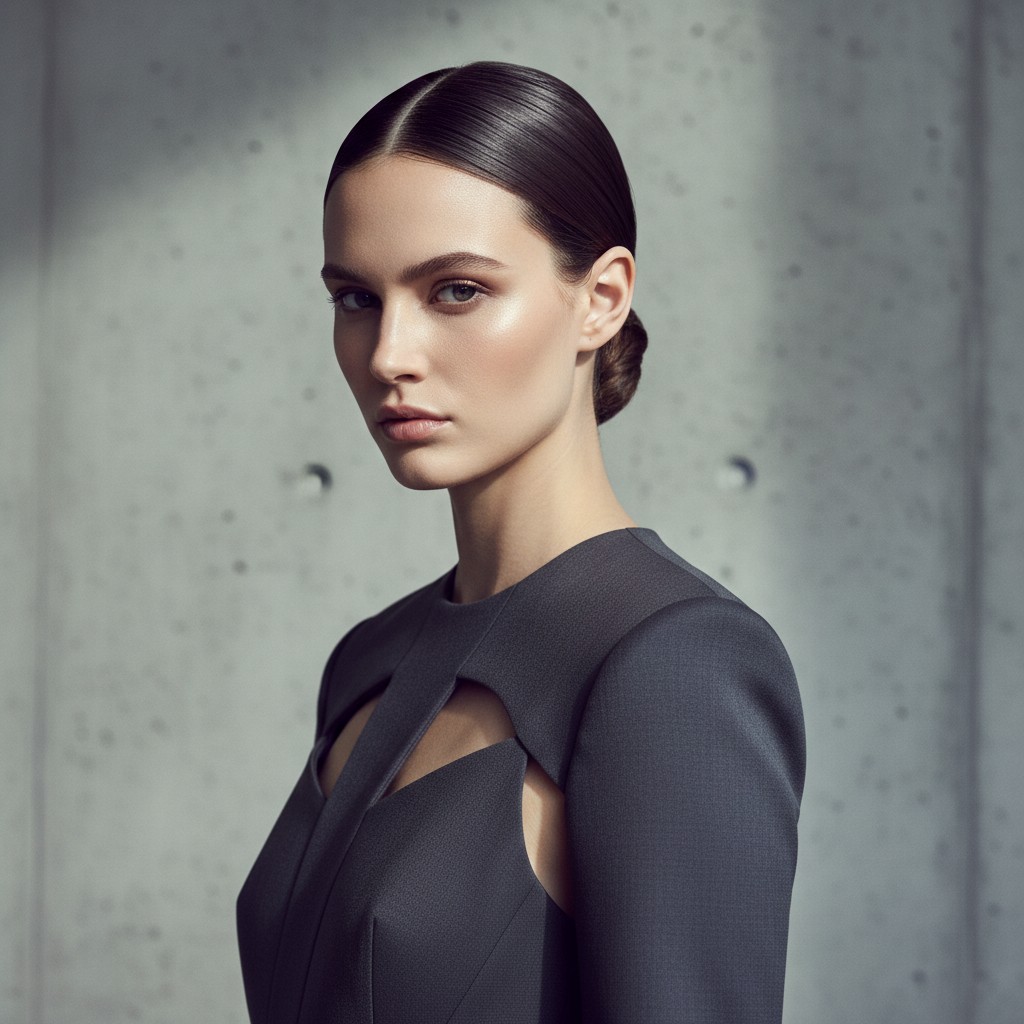
For a look that is clean, balanced, and unapologetically bold, the center-parted slick back is a top contender. This style has graced countless runways and is favored by those who appreciate a strong, graphic silhouette. The perfect symmetry frames the face beautifully and creates a very intentional, polished aesthetic that feels both modern and timeless.
Achieving a ruler-straight part is crucial. Use a rat-tail comb on damp hair to draw a precise line from your forehead to the crown of your head. Once parted, apply a firm-hold gel or cream to each side, starting from the part and working your way down. The goal is to get the hair as flat and sleek as possible against the scalp.
Use a fine-tooth comb to direct the hair on both sides straight down and back behind the ears. This style looks particularly stunning when finished in a low, sleek ponytail or a minimalist chignon at the nape of the neck. The severity of the part and the sleekness of the hair create a powerful contrast, making it a true statement look.
10. Create Subtle Volume at the Crown
If the super-flat, wet-look style feels too severe for your taste, you can easily incorporate some volume at the crown for a softer, more classic silhouette. This hybrid style gives you the clean, face-framing benefits of slicked-back sides with the flattering height of a bouffant. It's a nod to 1960s glamour with a modern twist.
The trick is to style in two parts. First, section off the hair at the crown of your head—a U-shaped section from temple to temple works well. Clip it out of the way. Now, apply your gel or pomade to the side sections and comb them back tightly for that sleek effect. Secure them temporarily if needed.
Now, unclip the top section. Apply a volumizing mousse to the roots and gently back-comb the underside of the section to create a cushion of volume. Smooth the top layer over the back-combed section, so it looks polished. Gently merge this voluminous top section with the slicked-back sides, and finish with a strong-hold hairspray to lock in the height.
11. Master Your Tools: Combs and Brushes
You can have the best hair gel in the world, but without the right tools, you won't achieve that perfectly polished slick back. Different combs and brushes serve different purposes in creating this look. A fine-tooth comb is essential for creating clean parts and for the final pass-through to ensure every hair is perfectly aligned and saturated with product.
A rat-tail comb is indispensable for creating precise, sharp parts, whether you're opting for a center or a deep side part. The long, thin handle (the 'tail') allows you to draw clean lines through your hair with surgical precision, which is the foundation of many slicked-back variations.
Perhaps the most valuable tool is a boar bristle brush. After applying your product and combing it through, a boar bristle brush is what you'll use to achieve that ultra-smooth, glass-like surface. The densely packed natural bristles are brilliant at grabbing every tiny hair and flyaway, smoothing them down without creating harsh comb lines. It's the secret to a truly professional-looking finish.
12. Lock It Down with Hairspray
After you've spent time perfecting your slick back style, the last thing you want is for it to lose its shape or for flyaways to appear an hour later. This is where hairspray comes in as your final seal of approval. Think of it as the top coat for your hairstyle; it locks everything in place, provides an extra layer of humidity protection, and ensures longevity.
Choose a strong or extra-strong hold hairspray for maximum security. Hold the can about 10-12 inches away from your head and mist it evenly over your entire style. Don't just spray the top; make sure to get the sides and the back as well. For extra control over stubborn flyaways around the hairline, spray a small amount of hairspray directly onto a clean toothbrush or a spoolie and gently brush them into place.
This final step is crucial for transitioning your look through different environments. A good hairspray will help your style withstand wind, humidity, and a long day of activities. It’s the difference between a style that looks great for a photo and a style that actually holds up in the real world, an important part of any daily routine that requires a polished appearance.
13. The Softer Half-Up Slick Back
If you love the clean look of slicked-back hair but want a softer, more romantic style, the half-up version is the perfect compromise. This style keeps the hair off your face while allowing the rest of your locks to flow freely. It's a versatile look that can be dressed up or down, making it one of the great hairstyles for school or a weekend brunch.
To create this look, section off the top half of your hair, from your temples back to the crown. Apply a light-hold pomade or styling cream to this section only—you want control without a super stiff or wet look. Using a brush, smooth this top section back and secure it with a clear elastic or a stylish clip.
The beauty of this style is the contrast in textures. You have the sleek, controlled top section paired with the soft, natural texture of the hair that's left down. You can leave your hair's natural texture, or add soft waves with a curling iron for a more polished effect. It's an effortlessly chic style that’s easy to create and comfortable to wear.
14. Accessorize Your Sleek Style
A slick back hairstyle provides the perfect minimalist canvas to showcase some beautiful hair accessories. The sleek, clean base ensures that any embellishment you add will truly stand out. A row of decorative bobby pins—think pearls, rhinestones, or simple metallic finishes—placed above the ear can add a touch of glamour to an otherwise simple look.
Headbands also work wonderfully with slick back styles. A simple, thin black headband can reinforce the sleek, polished vibe, while a more embellished or padded headband can add a trendy, fashion-forward element. Place the headband an inch or two back from your hairline after your hair has been slicked back for the most modern placement.
Don't be afraid to think outside the box. A single, sculptural metal clip securing a low ponytail can look incredibly chic. For a more formal event, consider weaving a delicate metallic thread or a fine ribbon through a slick back bun or ponytail. The key is to choose one statement accessory and let it be the star of the show.
15. Pair with Bold Makeup
One of the greatest benefits of a slick back hairstyle is that it puts your face on full display. With no hair to hide behind, it's the perfect opportunity to play with and emphasize your makeup. The clean, sharp lines of the hair create a beautiful frame that can carry a stronger makeup look than you might normally wear.
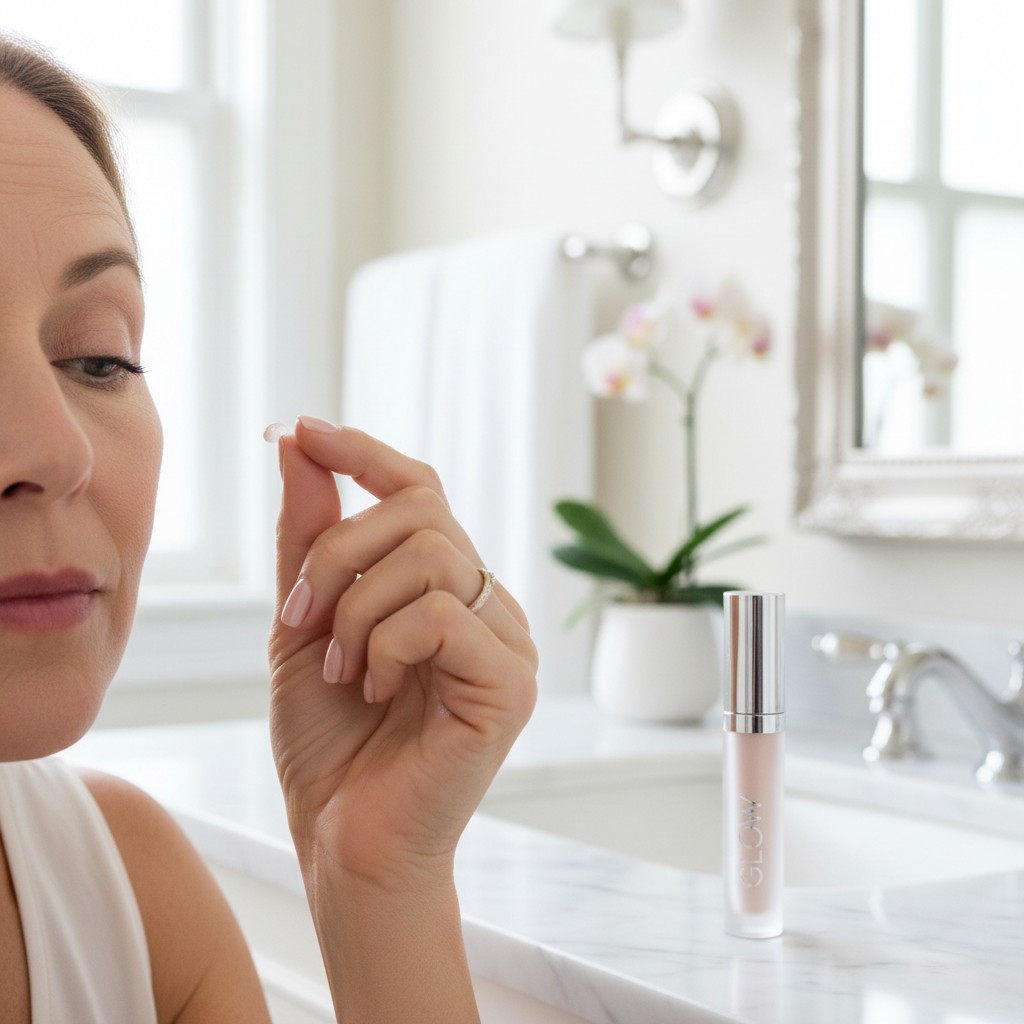
A bold lip is a classic pairing. A vibrant red, a deep berry, or a bright fuchsia lipstick provides a stunning focal point against the minimalist backdrop of the hair. Alternatively, you can focus on the eyes. A smoky eye, a sharp winged eyeliner, or a wash of bold color on the lids looks incredibly powerful when paired with a sleek, pulled-back style. This is especially true as we age, when great makeup tips for over 50 can truly shine with a hairstyle that lifts and opens up the face.
The key is to choose one feature to emphasize. If you're going for a dramatic eye, keep the lip more neutral, and vice versa. Because the hair is so polished, make sure your skin looks fresh and luminous. A touch of highlighter on the cheekbones can echo the shine in a wet-look style, tying the whole look together beautifully.
16. End-of-Day Hair Care and Removal
Wearing a slick back style, especially one that uses a lot of product, requires a proper removal routine at the end of the day to maintain the health of your hair and scalp. Simply hopping in the shower and shampooing might not be enough to break down strong-hold gels and pomades, leading to product buildup over time. This buildup can weigh hair down, dull its shine, and even clog hair follicles.
Start the removal process before you even get your hair wet. Apply a conditioner or a hair oil to your dry, product-laden hair. Gently massage it in to help break down and dissolve the styling products. Let it sit for a few minutes, then use a wide-tooth comb to gently detangle and work the conditioner through. This pre-treatment step makes the washing process much more effective.
After the pre-treatment, wash your hair with a clarifying shampoo. These are specifically designed to remove stubborn product residue, minerals, and oils. You may need to shampoo twice to get your hair completely clean. Follow up with a hydrating conditioner or a hair mask to replenish any moisture lost during the styling and cleansing process. This end-of-day routine is a vital part of your daily reflection and self-care, ensuring your hair stays healthy and ready for its next style.
Frequently Asked Questions
What's the best product for a slick back hairstyle?
The best product depends on your hair type and desired finish. For a high-shine, 'wet look,' a strong-hold gel is ideal. For a more flexible, natural-shine finish, a water-based pomade is excellent. If you have fine hair, a styling mousse or a light-hold wax can provide control without weighing it down. It's often beneficial to experiment and even combine products to achieve your perfect look.
Will a slick back hairstyle damage my hair?
A slick back style itself is not damaging. However, potential damage can come from three things: using products with harsh ingredients like drying alcohols, excessive tension from pulling the hair too tight (traction alopecia), and improper product removal. To avoid damage, use high-quality, alcohol-free products, avoid pulling your hair painfully tight, and always wash the product out thoroughly at the end of the day using a clarifying shampoo and a hydrating conditioner.
How do I get a slick back look without my hair looking greasy?
The key is strategic product placement. Focus the gel or pomade primarily on the roots and the top surface of the hair that will be visible. Avoid saturating the mid-lengths and ends, especially if you're wearing your hair down. Also, start with a small amount of product and build up as needed. Using a fine-tooth comb helps distribute the product evenly, creating a sleek shine rather than a greasy clump.
Can I do a slick back on fine or thin hair?
Absolutely. For fine or thin hair, the trick is to use lightweight products that won't weigh your hair down. A volumizing mousse applied at the roots before slicking can provide some lift. A light-hold wax or a styling cream can give you the necessary control without making your hair look flat or sparse. You might also prefer a softer slick back style, like the half-up version, which maintains more volume.
How long does a slick back hairstyle last?
With the right products and techniques, a slick back hairstyle can easily last all day and into the night. The key factors for longevity are starting with damp hair, using a quality strong-hold product appropriate for your hair type, and, most importantly, setting the final style with a generous mist of a strong-hold hairspray. This final step creates a protective barrier against humidity and movement.
Image Source: © MrDetechtive — all photos in this article are the exclusive property of MrDetechtive and may not be reproduced or reused without written permission.